Acer Aspire One (AA1) Bluetooth Addition.
Ok so after much research and many thanks to tnkgrl for the great image and blog I decided to give this a try myself.
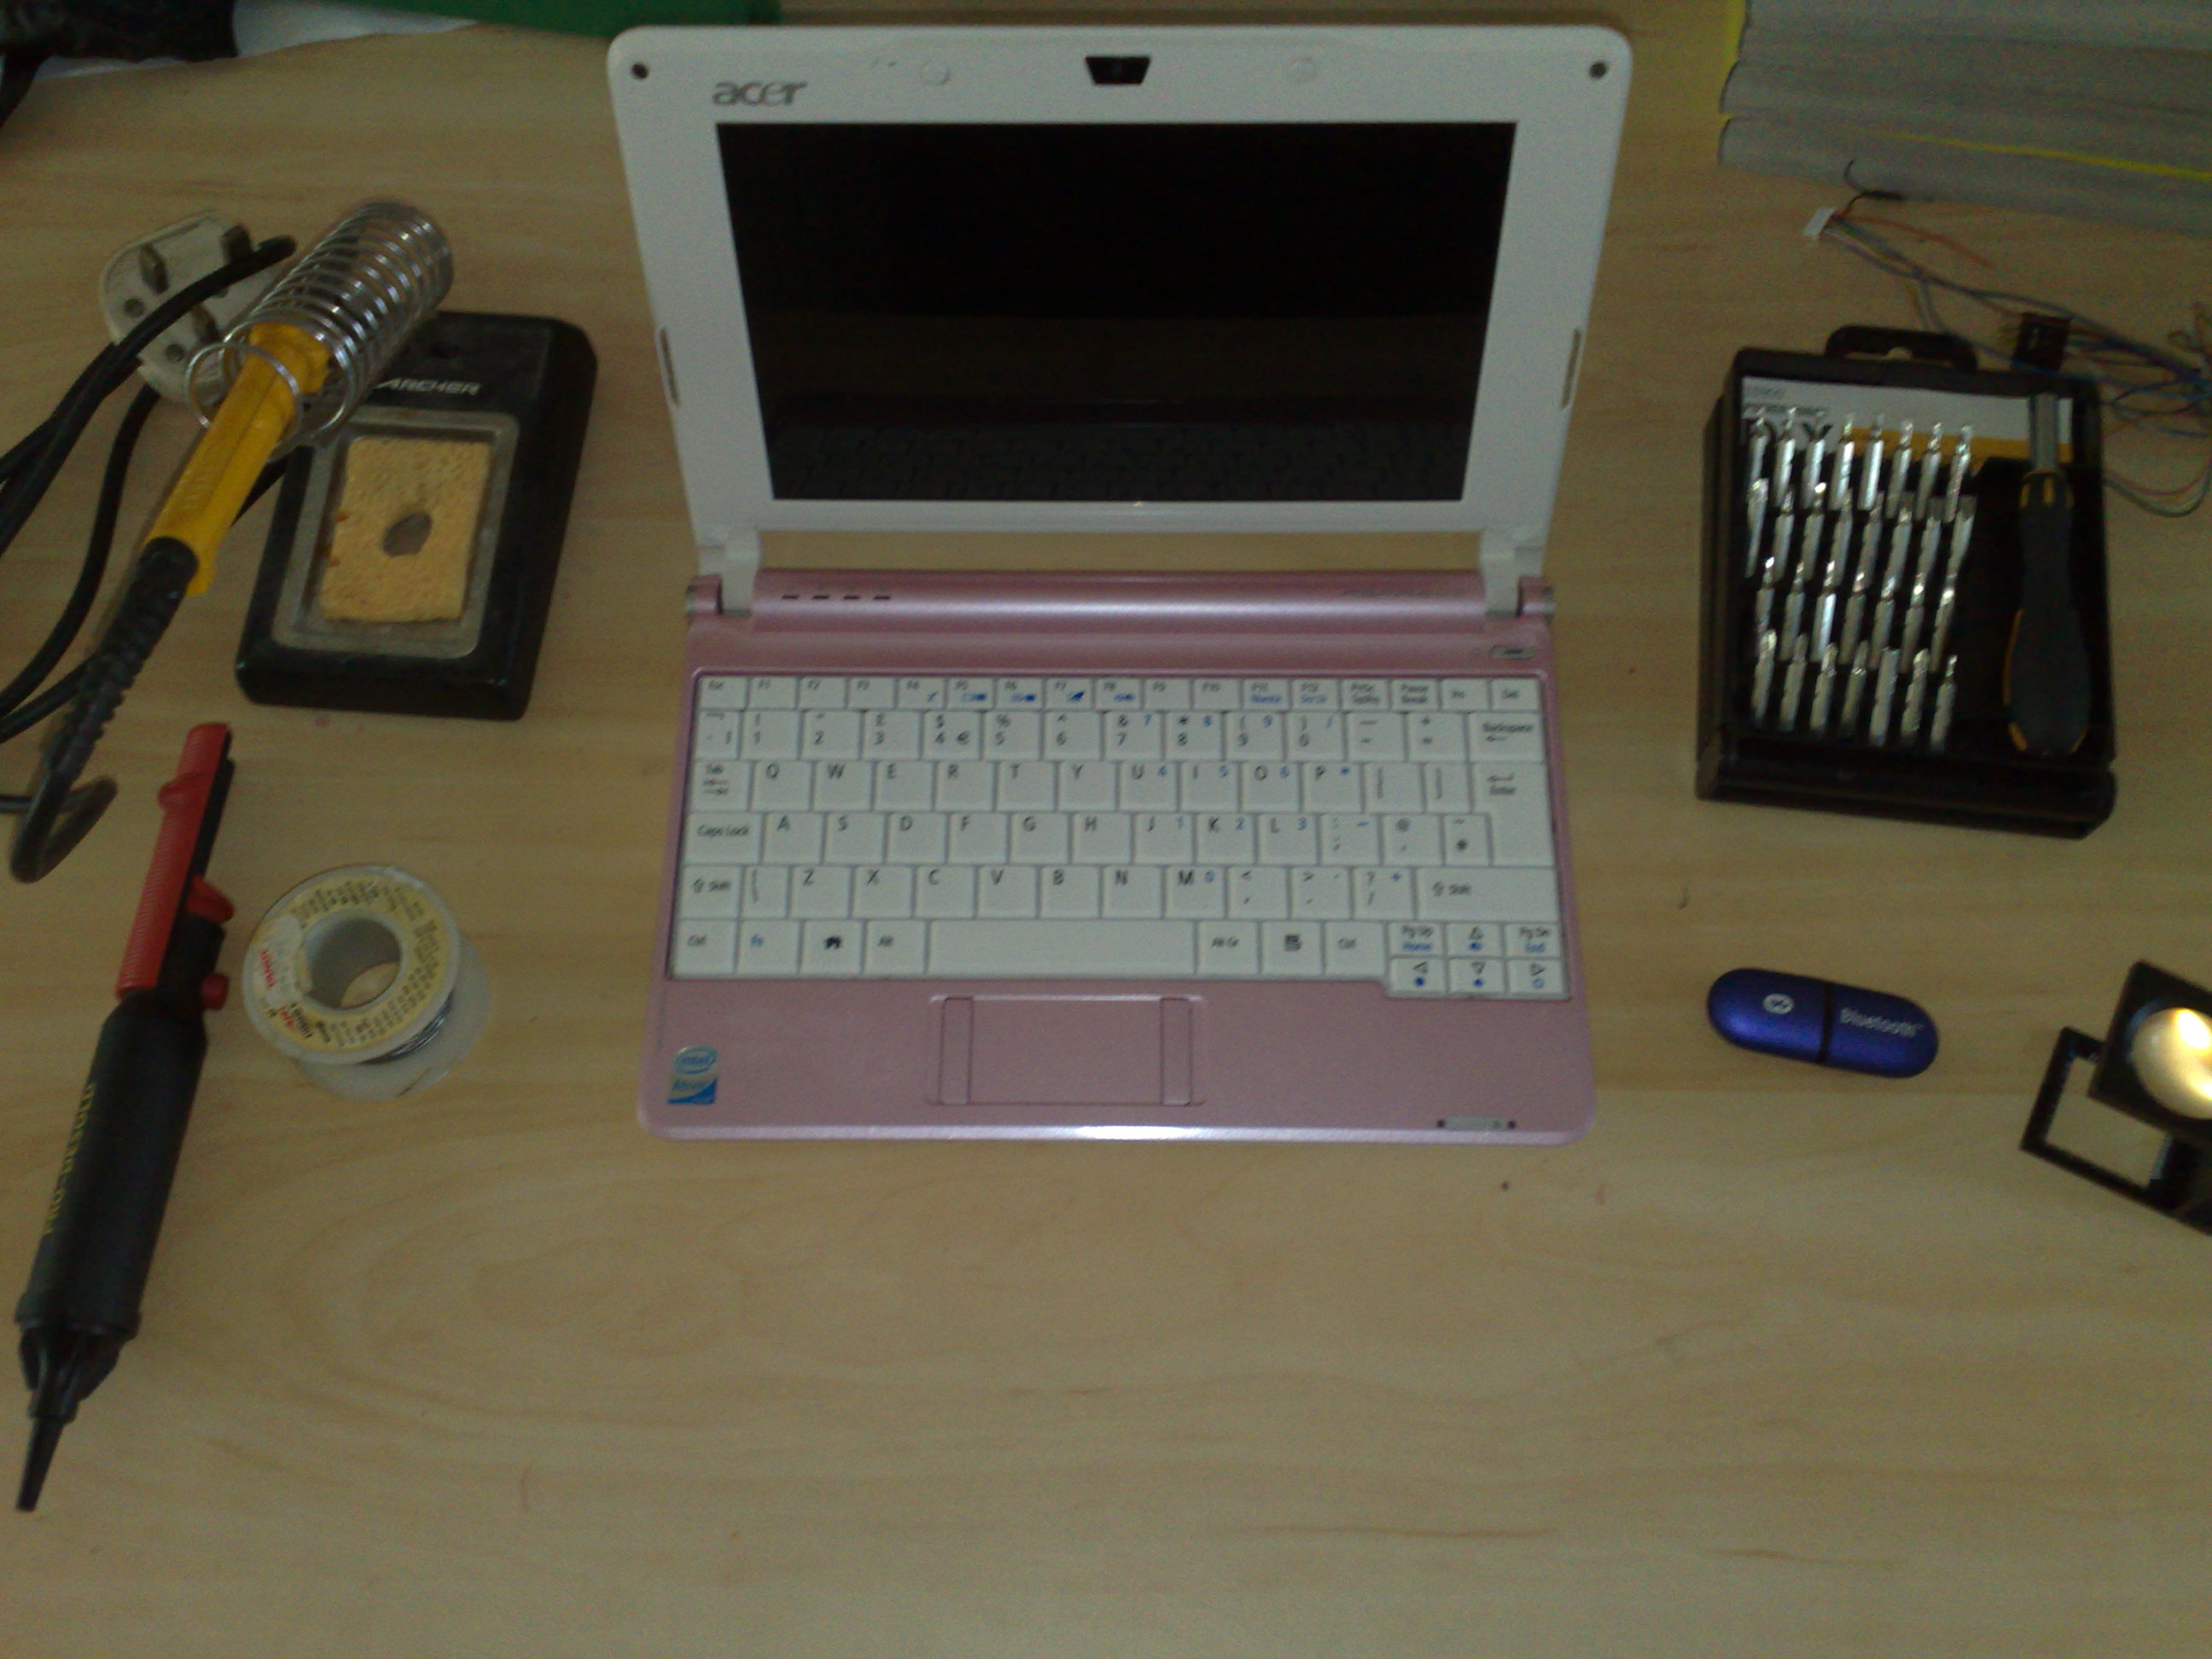
First things first, source a bluetooth dongle. I spent a while looking for a class 2 bluetooth 2.0 with enhanced data rate (EDR) dongle, the reasonably priced ones I could find were mostly not EDR or were class 1. Class 1 would consume too much power in my little AA1 and I’d like the performance from 2.0 + EDR. It turned out I had BCM92045 chipset dongle already, and the specs I could find for it told me it’s the one I want to go with, so now I need to replace that but as it’s for a desktop PC I can find something a bit more powerful.
 Broadcom Bluetooth Dongle in bits.
After pulling it apart we can see the more important circuit part which we’re interested in
 The bit we want
So now it’s time to strip it right down, taking the USB connector off and soldering some of our own cables on in its place.
 Broadcom Bluetooth Circuitry wired up
- Black – Ground
- Blue – usb d+
- White – usb d-
- Red – +5V
After taking the keyboard off and the surround housing the trackpad we need to remove the wireless card.
 AA1 Wireless Card
Just one screw holding it in, there’s no need to disconnect the antenna as we’re just going to move it out of the way.
OK, so the Bluetooth circuit is going to need insulating and sticking in the case somewhere. One important thing to note at this point is I’m still considering replacing the SSD with a mechanical drive and maybe adding GPS too, so this could be moved in the future I don’t want to be glueing it in.
 Bluetooth Taped up and stuck in
 Bluetooth Taped up and stuck in - closeup
As you can see this has plenty of room, that black rectangle with the silver circle on is the right speaker and if room becomes tight in the future there’s room for it to sit on there.
Next is the lovely job of connecting this up, tnkgrl’s image I connect up the 4 wires and secure them in place with some tape.
 Final Product
It’s important to note here that the ground and +5v wires run directly under the touchpad so we don’t want them to move so they could get trapped between the right button and the switch else we’ll be back doing this again.
 Secured in place
Just so you can see in a bit more detail. Also note that the cables are insulated and taped under where the wireless card will go back in, to prevent them raising and contacting on that.
And that’s it, put the wireless card back in, put it all back together and enjoy using bluetooth without anything sticking out of your machine and still having the full use of all your existing USB ports.